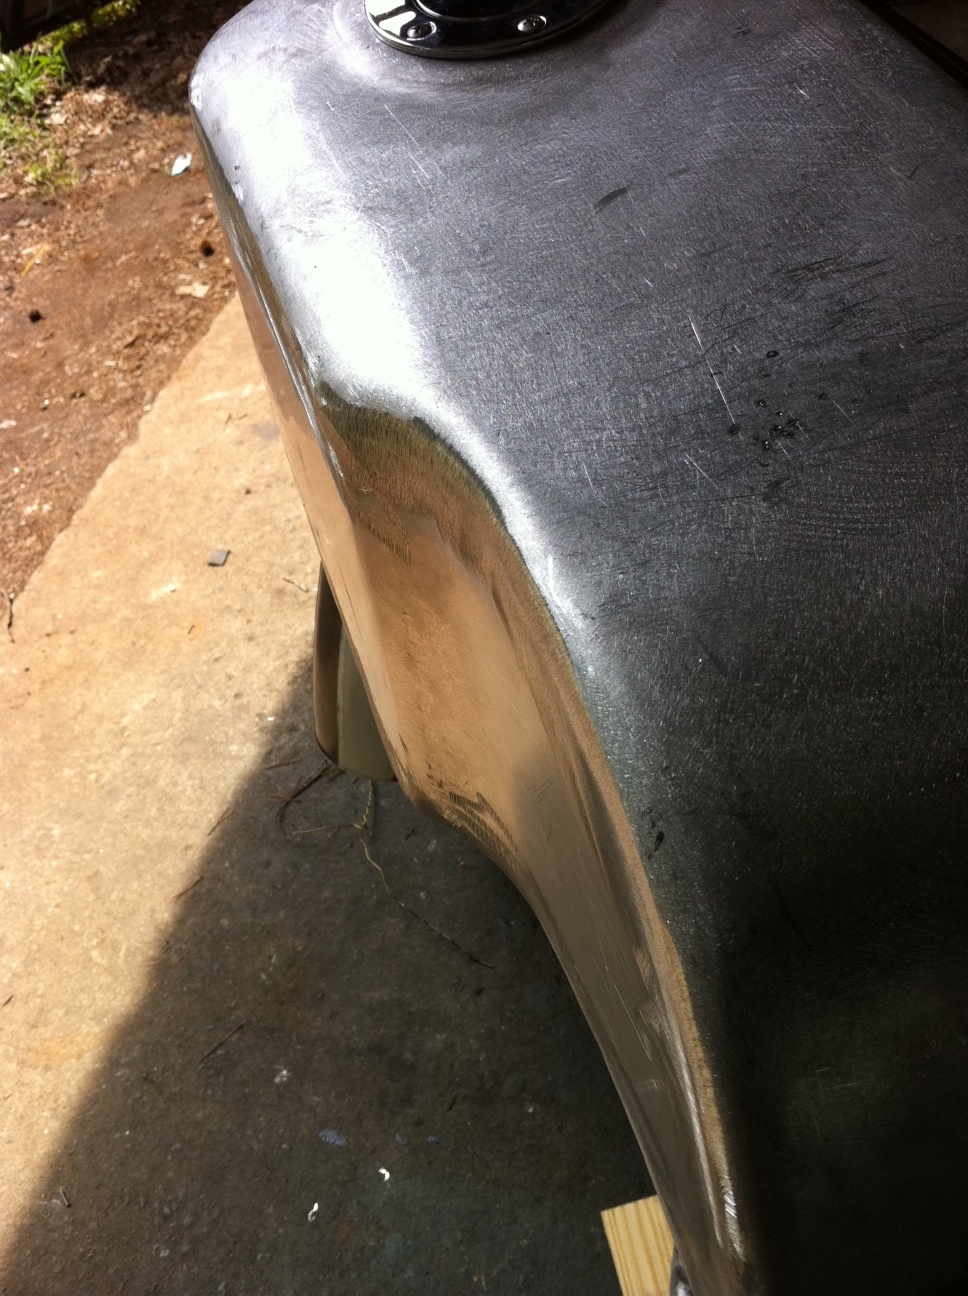
It was finally time for final assembly! My friend Dave came over the other night to help me assemble the bike. Of course, on his way over, his bike died and I had to go rescue him at the gas station. I think it was just a bad battery. We got back to the garage about 10 minutes before it started pouring. Good timing! It took us about 4 hours (or 6 beers) to get most of the bike assembled. For the most part, everything went smoothly. I had to put the forks on a couple of times because I kept forgetting things like the gators and headlight ears. After we got everything together we realized that the fuel tank bungs were in a very bad location. When we built the tank, I did not have the engine in the frame, so we weren't quite sure where any interferences would be. I dropped the tank off at the welder's the next day and he quickly moved them and had it back to me on Sunday.
I spent the whole next day and most of the third day working on the wiring. Since I moved the battery and most of the electrical components to the the seat hump, all those wires had to be extended. I also had to extend the key switch wires since I moved that to the dash. Luckily my dad helped me out with the wiring or it would have taken a lot longer. *Note to future builders: Get a real soldering iron. It made things much easier and more than paid for itself with the time saved.* I cleaned all of the wiring up and rewrapped the wiring harness. I still have a little bit of wire organizing to do under the seat, but I will do that after I know everything is running right.
I have spent the rest of the time attending to small details. As I was looking at the rear brake setup, I realized I had the brake cam in 180° out of alignment so the brake arm was sticking up instead of down. To move it, I had to take the back wheel off. As you can see in the pictures, I had the bike up on a platform (a cooler to be technically accurate). When I took the back wheel off, it was no longer balanced on the platform and tried to tip forward. My dad tried to stop it but it fell over on him. Luckily it did not hurt him. The bike didn't have much damage either. All it really did was bend the rear brake stay which was hanging down at the time. I guess my dad broke its fall. We just bent the brake stay back.
So now, it is pretty much complete. I need to adjust the generators and the timing so I can get it running. Then I have to take it over to the welder's house so he can shorten the rear brake rod and shift lever so they fit properly. Then I have to apply the brushed finish to the tank.
Almost there!
Engine in!
Suspension and wheels on!
Ooops! That's not going to work.
Underseat wiring.
Ready to roll!
Friday, July 15, 2011
Thursday, July 7, 2011
And I Want It Painted Black
Since all of the fabrication work is done and all the mods have been made to the frame, it was finally time to paint the frame. First I cleaned all the old paint and grime off of the frame. That took a long time! Although it wasn't necessary, I used a self etching primer on the frame to keep it from rusting and help the paint stick a little better. Since I don't have any time or money left to powdercoat it, I sprayed it with a satin black epoxy paint. It turned out really nice. I also finished up the fenders which needed a little bodywork done. With the exception of the brushed finish on the tank and seat, everything is ready for re-assembly! Most of that will take place this weekend. I will have some wiring modifications to make and I still have to work out the rear brake arm and shifter, but I will still hopefully be finished before the end of the month.
Fender Bodywork
Fender Bodywork
The primed frame
The frame painted and drying
Wednesday, June 15, 2011
Curves And Flats Are Where It's At
As my self imposed deadline of the end of July quickly approaches, most of the fabrication work has been done. The tank and seat have been made and mounted to the bike. We are currently working on the mounts for the rearset foot pegs. The last item will be a license plate bracket and then the rest of the work is mine. I am going to have lots of cleaning, sanding and painting to do over the next month.
I've decided not to show the whole bike until I'm done, but here are some teaser shots of the tank, seat and the new mount for the tank and seat. Oh, and the electronics tray under the seat hump.
Wednesday, May 4, 2011
What the buck?
So my welder and I didn't have the same vision when it came to the tank, so he asked me to make him a wooden buck for him to form the tank on. I designed what I wanted with the CAD software I use at work and then used that to make templates to cut and shape the wood. It took a little while, but at least the tank and seat will look exactly how I want them. I will be dropping them off today so he can start working on them.
The Design
Making the Buck
My dad glued up some pine boards and then we cut out the general shape (using templates from my CAD model) using a really big band saw. I then used a large file and a sander to get it to the final shape. I made cardboard templates to help be get the corner radii right and keep things consistent.
The Design
Making the Buck
My dad glued up some pine boards and then we cut out the general shape (using templates from my CAD model) using a really big band saw. I then used a large file and a sander to get it to the final shape. I made cardboard templates to help be get the corner radii right and keep things consistent.
The Finished Product
The final tank won't have a pointed front because it will be cut out for the frame tunnel. Also, the seat will be trimmed to match the profile of the tank where they meet. The flat part of the seat buck is actually a little long so we can trim it to fit.
Here is the lonely engine waiting for a bike to call home
and the three tanks that didn't make the cut
Thursday, March 10, 2011
Less Talk More Action
Now that the progress is out of my hands and into someone else's, things are actually happening. Got a new bracket for the coils and condenser fabbed up. Modified the gauge bracket so the ignition switch could be mounted up top. Now the tank and the seat are getting made. I had originally planned on modifying a CB750F tank, but after we realized the tunnel wouldn't fit down on the 450 frame, we decided to take the plunge and just make a new tank from scratch. (I think my welder just wanted to try his hand at making a tank). So, here are some pics of the progress.
Subscribe to:
Posts (Atom)